


1. Open the ZIP file that contains the SSL Certificate and save the SSL Certificate file (your_domain_name.cer) to the desktop of the web server that needs to be secured.
2. Access Information Services (IIS) Manager on your server.
3. Inside Internet Information Services (IIS) Manager, navigate to Connections, and choose the Hostname of the server you're working with.
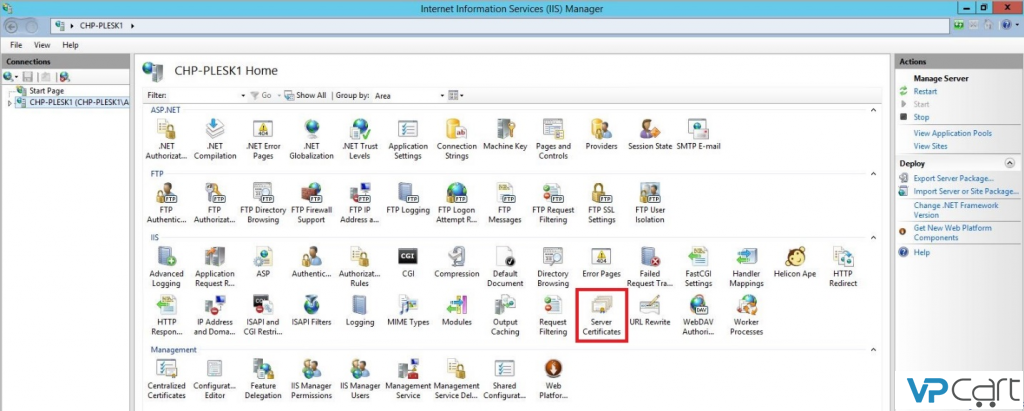
4. Within the menu, locate and double click on the Server Certificates icon.
5. Under the Action menu, initiate the Complete Certificate Request wizard.
6. In the Complete Certificate Request wizard, on the Specify Certificate Authority Response page, click to browse to the .cer certificate under the File name containing the certification authority?s response. Select the file and then click Open.
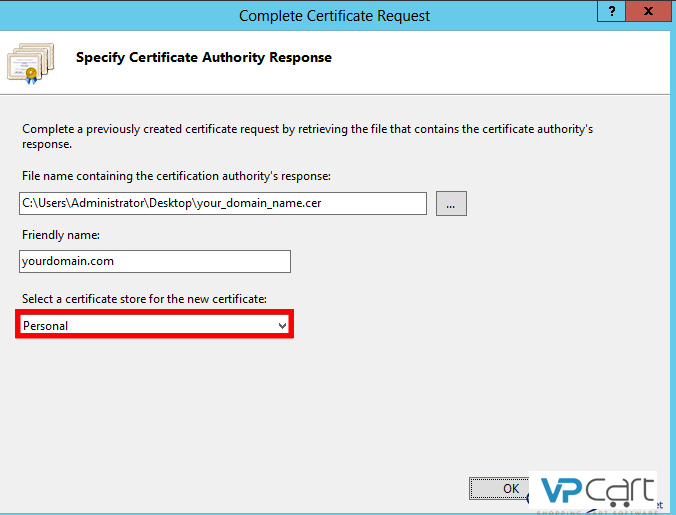
7. Following that, provide a friendly name for the certificate in the friendly name box. Although this name is not part of the certificate, it will be used to identify it.
8. To complete the SSL Certificate installation on the server, click OK.
9. Once the SSL Certificate is successfully installed on the server, proceed to bind the certificate to the desired domain.
Binding the Certificate to the Desired Website:
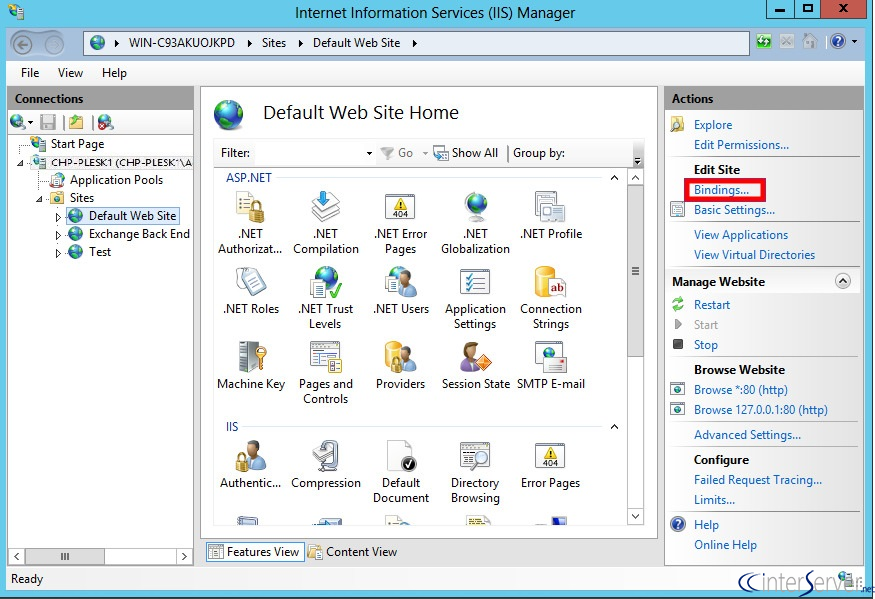
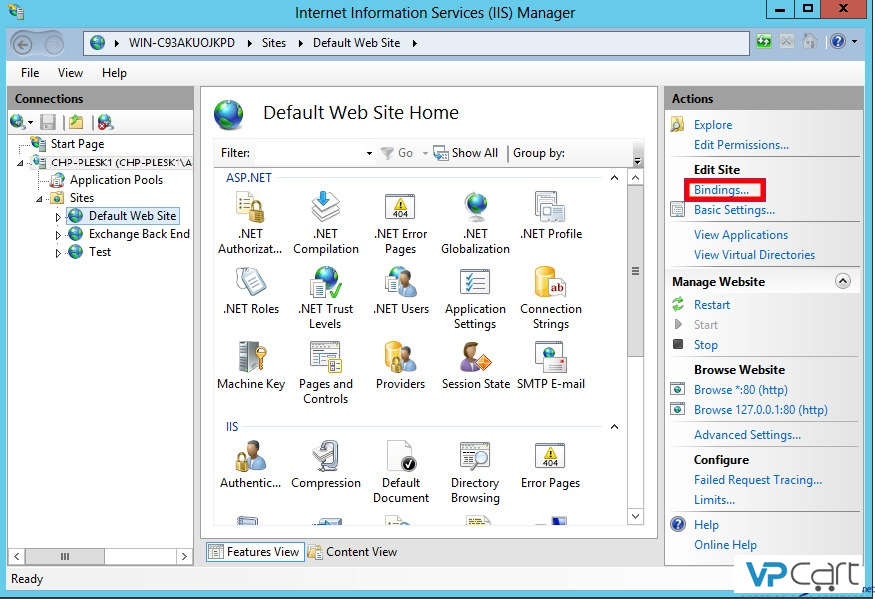
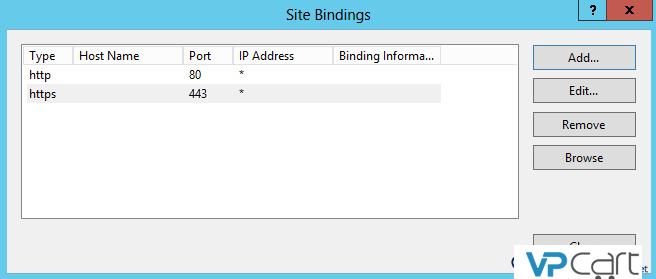
1. Inside Internet Information Services (IIS), click on Bindings in the Action menu (located on the right). This action will open the Site Bindings window.
2. In the Site Bindings window, click on Add to open the Add Site Binding window.
3. Choose https in the type box. Set the IP address as the domain name and the port over which the connection will be secured by SSL, which is 443.
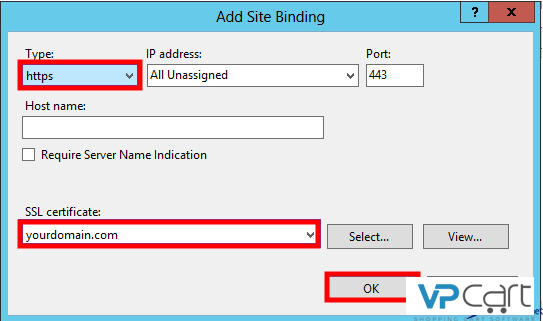
4. Click OK to confirm.
Congratulations! The SSL certificate has been installed successfully.
If you require any further assistance, please don't hesitate to contact our support.